Fifteen Bucks, One Backyard, Zero Subscriptions: A Cheap Sensor Weather Station Build
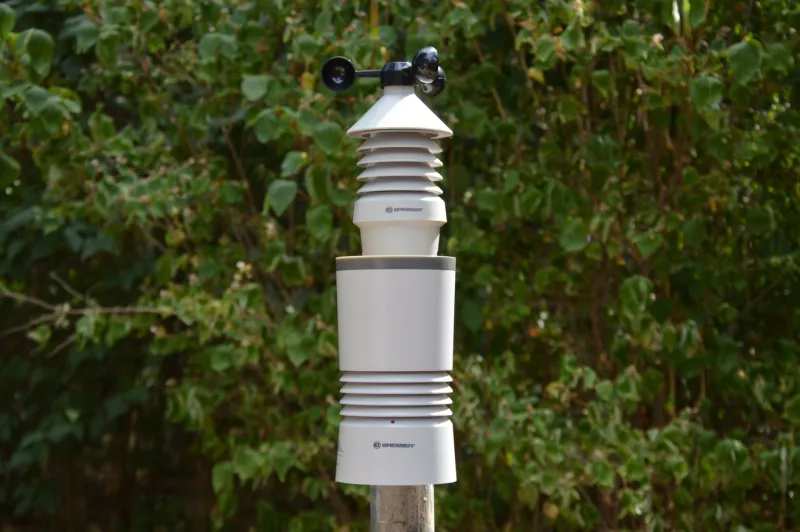
Weather stations from the big consumer brands run $150 and up, and most of them lock your data behind a cloud account. We wanted none of that. Total budget for sensors: about fifteen dollars, shipped from AliExpress, with an ESP32 dev board already in the parts bin.
Here's how the build went — warts and all.
The Shopping Cart
The haul:
- BME280 breakout (~$3): temperature, humidity, and barometric pressure in one I2C package
- Rain gauge with tipping bucket (~$4): the classic seesaw mechanism that clicks once per 0.3mm of rain
- Cup anemometer (~$4): three spinning cups and a reed switch that pulses with rotation
- Wind vane (~$2): eight reed switches and a resistor ladder for direction
All unbranded, all with documentation that ranges from sparse to fictional. Classic AliExpress.
The Brain: ESP32, Not Raspberry Pi
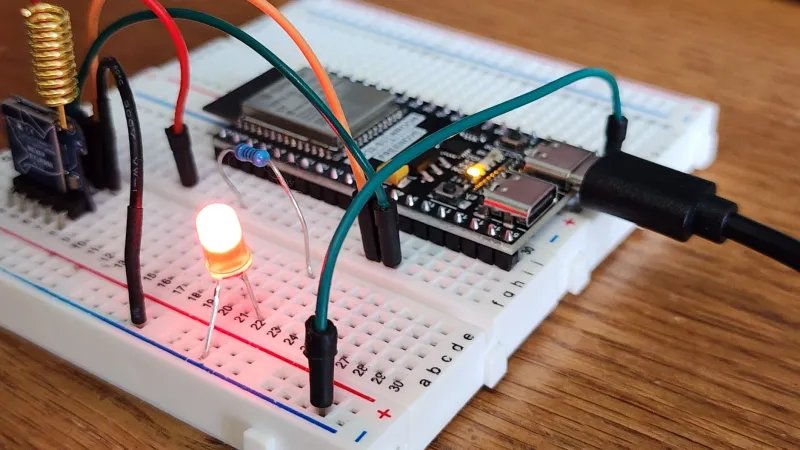
A Raspberry Pi would work, but it's overkill and power-hungry for a device that lives on a pole. The ESP32 draws milliamps, has built-in WiFi, and every sensor here talks either I2C or simple contact closures. Arduino framework, a 30-line state machine for the tipping bucket interrupts, and MQTT to ship data to a local Home Assistant instance. No cloud, no subscription, no monthly fee — the whole point.
One gotcha: the rain gauge and anemometer reed switches bounce. Debounce them in software or add a small RC filter, or you'll count phantom rain on windy days.
Calibration: Where the Cheap Sensors Bite
The BME280s are famously decent out of the box, but ours read about 1.5°C high in direct sun — because, well, direct sun. Radiation shielding matters more than sensor quality. A stack of white plastic plates from the hardware store (or a 3D-printed Stevenson screen if you've got a printer) fixed most of it.
The rain gauge needs a real calibration: pour exactly 100ml of water through it slowly and count the tips. Ours was off by about 8% from the spec sheet. The anemometer was closer to spec, but the wind vane's resistor ladder didn't match any datasheet we could find — we mapped it empirically with a multimeter and a compass. Twenty minutes, and honestly kind of fun.
Enclosure Lessons Learned the Hard Way
The first version died in a thunderstorm. Version two survived a full summer:
- IP65 junction boxes from the hardware store beat anything from AliExpress
- Cable glands, not drilled holes with caulk — caulk cracks
- Drip loops on every cable, or water wicks straight into the box
- Desiccant packs swapped monthly to fight condensation
- Conformal coating on the ESP32 board itself
Mount the wind instruments on a separate mast, at least a few feet from the temp sensor, so vibration doesn't shake your readings loose.
The Dashboard
Data flows over MQTT to Home Assistant running on a spare Pi in the basement. The ESP32 deep-sleeps between readings — though the rain gauge needs continuous power, so it stays on and wakes the readings. Grafana or the built-in HA dashboards both look great; either way, the data lives on your network, owned by you, exportable as CSV forever.
Was It Worth It?
Absolutely. Fifteen bucks in sensors, an evening of soldering, and a weekend of calibration got us a station that outperforms several $200 consumer units on accuracy — and unlike them, we know exactly how it works and can fix it when it breaks. That's the whole maker ethos in one pole-mounted box.